Manual Material Setup
VA components auto-generate materials with a specific setup to drive vertex animation. If you want to use your own custom materials at runtime, you need to understand how the component manages its internals and follow a manual setup process.
How the VA Component Works
Section titled “How the VA Component Works”The VA component manages three things internally:
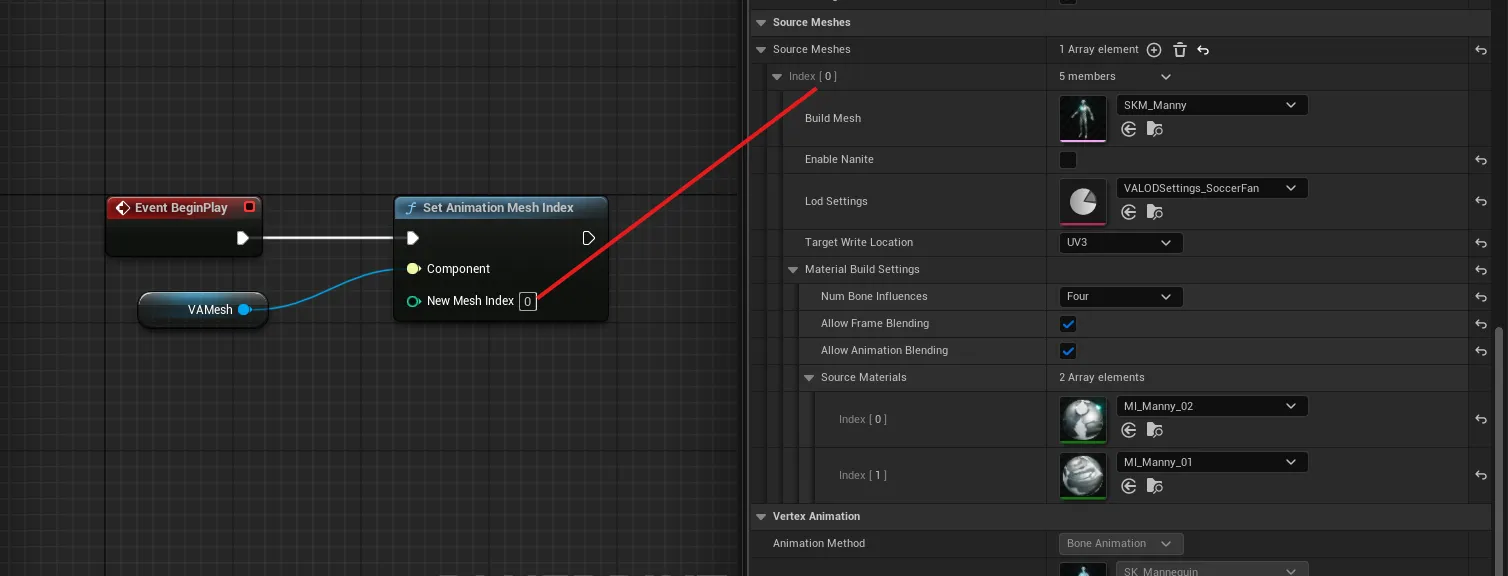
- Static Mesh: A special mesh that contains baked animation data. Use
Set Animation Mesh Indexto swap between meshes in a multi-mesh collection. Never useSet Static Meshdirectly — it will break the animation pipeline.- Materials: Dynamic material instances are auto-created at play to drive animation parameters. You can retrieve them in Blueprint and set your own parameters on top.
- Custom Data Floats (ISM): The first 12 custom data float slots are reserved for the animation system. Only configure these through the VAT Asset — do not write to them directly on instanced mesh components.
Setting Up a Custom Material
Section titled “Setting Up a Custom Material”To create a material that is compatible with the vertex animation system:
- Add the Vertex Animation Layer Asset to your material
- Create a Material Instance from that material
- In the Material Instance, set
bIsVATtotruein the Layer Parameters (this is a static switch that enables the vertex animation logic)
Overriding Materials at Runtime
Section titled “Overriding Materials at Runtime”Materials defined in the VA Asset Collection are applied automatically when play begins. There is currently no dedicated “Override Materials” slot on the component itself.
To override materials at runtime in Blueprint:
- In
Event BeginPlay, callGet Dynamic Materialson the VA component to retrieve the auto-created dynamic material instances- Use
Set Parameter Valueon the returned materials to apply your custom parameter values (textures, colors, scalars, etc.)
See Also
Section titled “See Also”- VA Mesh Component - Single-instance vertex animation playback
- VA Instanced Mesh Component - Multi-instance vertex animation
- VA Asset Collection - The asset type containing mesh and animation data